
반응형
Notice
Recent Posts
Recent Comments
Link
| 일 | 월 | 화 | 수 | 목 | 금 | 토 |
|---|---|---|---|---|---|---|
| 1 | 2 | 3 | 4 | |||
| 5 | 6 | 7 | 8 | 9 | 10 | 11 |
| 12 | 13 | 14 | 15 | 16 | 17 | 18 |
| 19 | 20 | 21 | 22 | 23 | 24 | 25 |
| 26 | 27 | 28 | 29 | 30 | 31 |
Tags
- VUE
- php
- 국비IT
- 정보처리기사요약
- 리액트네이티브
- CSS
- Oracle
- 자바스크립트
- 정보처리기사정리
- 국비코딩
- 평일코딩
- 정보처리기사
- 자스코테
- spring
- ReactNative
- 자바의정석
- 정보처리기사실기정리
- Java의정석
- 스프링
- 자바스크립트 코딩테스트
- 이안의평일코딩
- javascript
- 정보처리기사실기요약
- typescript
- react
- 코딩테스트
- 타입스크립트
- 정보처리기사실기
- 리액트
- 오라클
Archives
- Today
- Total
이안의 평일코딩
[ReactNative] 리액트네이티브 색상, 이미지, 구글폰트 넣기 본문
반응형

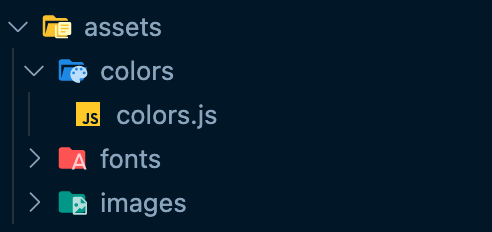
색상
assets/colors라는 폴더를 만들어 colors.js 파일을 생성한다.
const colors = {
    black: '#000000',
    gray: '#666666',
    blue: '#1C215D',
}

export default colors;
자신이 원하는 색상을 넣어주고 export한 다음 import해서 사용하면 간단하게 StyleSheet에서 적용가능하다.
import colors from './assets/colors/colors';

const App.......

const styles = StyleSheet.create({
  sectionTitle: {
    fontSize: 24,
    fontWeight: '600',
    color: colors.blue,
    fontFamily: 'OpenSans-Bold',
  },
});
이미지
assets/images라는 폴더를 만들어 이미지를 폴더에 넣어준다음 import해오면 된다.

import {
  Text, .....
  Image,
} from 'react-native';

import onboard1 from './assets/images/Onboard1.png';

return (
  <Image source={onboard1} />
);
구글폰트
Google Fonts
Making the web more beautiful, fast, and open through great typography
fonts.google.com
원하는 폰트에 들어가서 상위 Download Family 버튼을 클릭해서 다운받는다.

압축을 풀고 프로젝트안에 assets/fonts라는 폴더를 만들어 원하는 스타일을 넣어준다. (regular, bold...)

그리고 루트 디렉토리에 react-native.config.js이라는 파일을 만들어 아래와 같이 코드를 입력한다.
module.exports = {
    project: {
        ios: {},
        android: {},
    },
    assets: ['/assets/fonts']
};
그러면 아래와 같이 StyleSheet에 폰트를 지정해주면 알아서 적용이된다.
const styles = StyleSheet.create({
  sectionTitle: {
    fontSize: 24,
    fontWeight: '600',
    color: colors.blue,
    fontFamily: 'OpenSans-Bold',
  },
});
반응형
'Front-end > ReactNative' 카테고리의 다른 글
| [ReactNative] 리액트네이티브 프로젝트 Setting (0) | 2021.03.16 |
|---|---|
| [ReactNative] 리액트네이티브 (3) - To do 앱 (0) | 2021.03.12 |
| [ReactNative] 리액트네이티브 (2) - 기본 구성 (0) | 2021.03.11 |
| [ReactNative] 리액트네이티브 (1) - Expo 설치 및 실행 (0) | 2021.03.10 |
'Front-end/ReactNative' Related Articles
more


Comments